
Keeping your dog’s ears clean is a key part of maintaining their overall health and hygiene. Just like humans, dogs are prone to ear infections, wax buildup, and other ear-related issues if not properly cared for. Regular ear cleaning can prevent discomfort, infections, and hearing problems. In this guide, we’ll show you how to clean your dog’s ears safely and effectively at home, ensuring they stay healthy and happy.
Why Regular Ear Cleaning Is Important
Regular ear cleaning is essential for all dogs, but some breeds are more susceptible to ear problems than others. Breeds with floppy ears, like Cocker Spaniels and Basset Hounds, are more likely to develop infections because their ears trap moisture and dirt. Even dogs with erect ears can experience wax buildup and irritation, especially if they spend a lot of time outdoors or in water. Cleaning your dog’s ears helps prevent infections, discomfort, and itching while also giving you a chance to inspect them for any abnormalities.
The frequency of ear cleaning depends on your dog’s breed, activity level, and ear structure. Some dogs may only need their ears cleaned once a month, while others, especially those with floppy ears, may require cleaning once a week. It’s important to learn the signs that indicate when your dog’s ears need attention. If you notice a strong odor, discharge, redness, or your dog is scratching or shaking their head frequently, it’s time for a cleaning.
Essential Tools and Products for Cleaning
Before starting the ear cleaning process, it’s crucial to gather the right tools to ensure you clean your dog’s ears safely. First, you’ll need a vet-approved ear cleaning solution designed specifically for dogs. These cleaners are formulated to remove dirt and wax buildup without causing irritation. Avoid using alcohol, hydrogen peroxide, or other household solutions, as these can dry out or damage your dog’s ears.
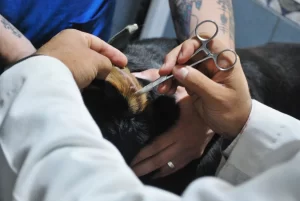
In addition to a cleaning solution, you’ll need some cotton balls or gauze pads to wipe away dirt. Avoid using cotton swabs, as they can push debris further into the ear canal and potentially damage the eardrum. Have a towel ready to catch any mess, as the process can get a bit wet and messy when your dog shakes their head. For breeds with excessive ear hair, tweezers or an ear powder may be useful to remove hair gently and allow better airflow in the ear canal.
Preparing to Clean Your Dog’s Ears
It’s important to make sure your dog is calm and relaxed before beginning the cleaning process. Choose a quiet space where your dog feels comfortable, and have some treats on hand to reward them throughout the process. Dogs are often more cooperative when they’re tired, so consider cleaning their ears after exercise or during a quiet time when they’re more likely to stay still.
Before applying any cleaning solution, take a moment to inspect your dog’s ears. Gently lift the ear flap and look inside. Healthy ears should be pale pink with no odor or excessive wax buildup. If you notice redness, swelling, or discharge, it’s best to consult your vet before proceeding, as these could be signs of an infection. Cleaning infected ears can cause further irritation, so it’s important to address any medical concerns first.

Step-by-Step Ear Cleaning Guide
Once your dog is calm and you’ve inspected their ears, it’s time to begin cleaning. Start by gathering all your supplies so that the process goes smoothly. With everything ready, you can focus on keeping your dog comfortable and ensuring the cleaning is thorough.
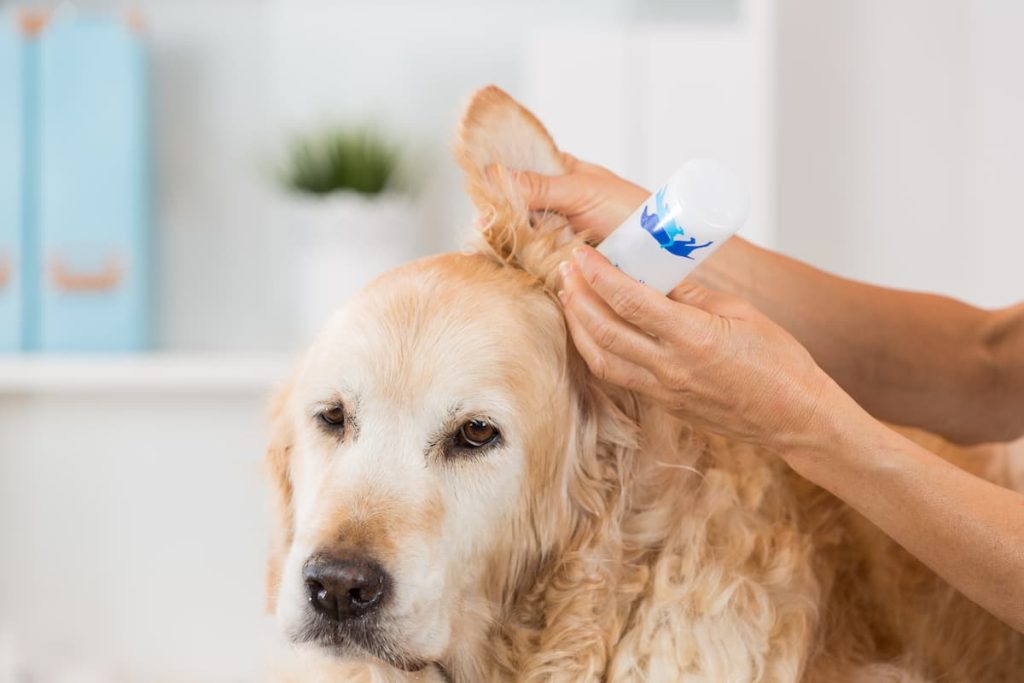
Begin by gently lifting your dog’s ear flap and holding it upright. This allows you to see inside the ear canal and gives you better control when applying the cleaner. Squeeze a few drops of the ear cleaning solution into the ear canal. Be careful not to touch the nozzle of the bottle to your dog’s ear, as this can introduce bacteria into the cleaner. Once the solution is in the ear, gently massage the base of the ear for 20-30 seconds. This helps the cleaner break up wax and dirt deep inside the ear.

After massaging the ear, let your dog shake their head. This is a natural reflex that helps them remove the excess cleaner and any loosened debris. Be prepared for some splatter—this part of the process can get messy, so it’s helpful to have a towel on hand to protect yourself and your surroundings.
Once your dog has shaken their head, use a cotton ball or gauze pad to gently wipe the outer ear and remove any dirt, wax, or leftover cleaner. Be sure not to insert anything deep into the ear canal, as this can cause damage. Your goal is to clean the visible part of the ear, leaving the deeper parts to be cleaned by the solution and the dog’s natural head-shaking action.
Repeat the process on the other ear, following the same steps. Remember to be patient and gentle, offering your dog treats or soothing words to keep them calm throughout the cleaning.
What to Avoid While Cleaning
While cleaning your dog’s ears is a straightforward process, there are some common mistakes to avoid. First, never use products that aren’t specifically designed for dogs. Human ear cleaners or household solutions like alcohol or hydrogen peroxide can irritate the sensitive skin inside your dog’s ears. Always stick to vet-approved products to ensure your dog’s ears are cared for properly.
Another important point is to avoid using cotton swabs in your dog’s ears. While it may be tempting to use them to clean out wax, cotton swabs can push debris further into the ear canal, making it harder to clean and increasing the risk of injury. Finally, don’t force the process if your dog is highly agitated. If your dog is resisting, stop and try again later when they are calmer, or seek help from a professional groomer or veterinarian.
Post-Cleaning Care and Monitoring
After you’ve finished cleaning your dog’s ears, make sure they are dry. Moisture left in the ears can lead to infections, especially in dogs prone to ear problems. Use a soft towel to gently pat the ears dry, and keep an eye on your dog for any signs of discomfort. If your dog continues to shake their head or scratch their ears after cleaning, it may be a sign of irritation or infection, and you should consult your veterinarian.
It’s also important to monitor your dog’s ears in the days following a cleaning. If you notice any unusual symptoms like discharge, blood, or a foul odor, contact your vet. These could be signs of an underlying condition that needs medical attention.
Cleaning your dog’s ears at home is a simple yet essential part of keeping them healthy. With the right tools, a calm environment, and a little patience, you can prevent infections and ensure your dog’s ears remain clean and comfortable. Regular ear care, combined with professional check-ups, will keep your dog’s ears in great condition and prevent many common problems. Make ear cleaning a positive experience by rewarding your dog and building a routine that ensures their long-term health.

After 5 years in a high pace business management role, I partnered with an e-commerce developer to start building Dog Supplies Warehouse.
Our number one goal is to make sure all products are managed and delivered to our customers door fast and accurately.